VR6 Caddy Build
Posted: Aug Wed 06, 2008 9:58 pm
VR6 Caddy Build:
I should have started this build thread months ago, but I just figured-out how to post pictures to this site.
Dropping a VR6 into the Caddy should be easy
History: I found an 81 VW pick-up diesel at Brax in Divide.
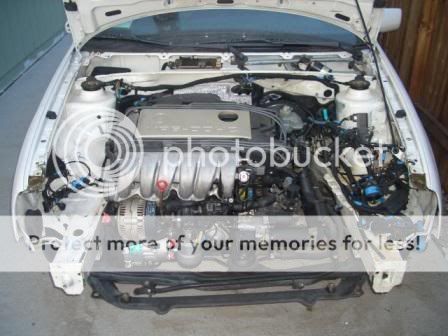
Body was in good shape and he dropped it off at the house late last summer. Then I found a cheap donor vehicle, 95 Jetta GLX in LA.
Got a cheap one way ticket and drove it back to Bozeman in 21 hours.
Changed plugs, wires, basic tune-up and this VR6 screams... shifts and handles very well.
Project: I want to build a VW pick-up daily driver with LSD necessary power, great handling and a stock clean "83" exterior look.
Must be a comfortable blast to drive.
I will be using the complete MK3 VR6 Subframe system.
I will Modify the Caddy body to accept the Subframe system and have everything bolt-up to the body just like on the MK3.
I will be using as many parts as possible from the MK3 to complete this build.
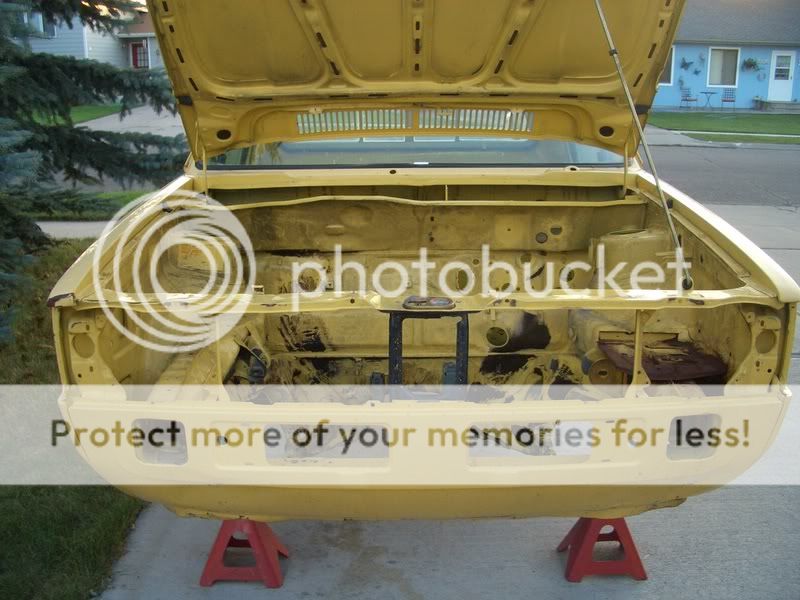
I started to tear down the pick-up and it then sat like this all winter.
These vehicles are outside and I like to ski too much.
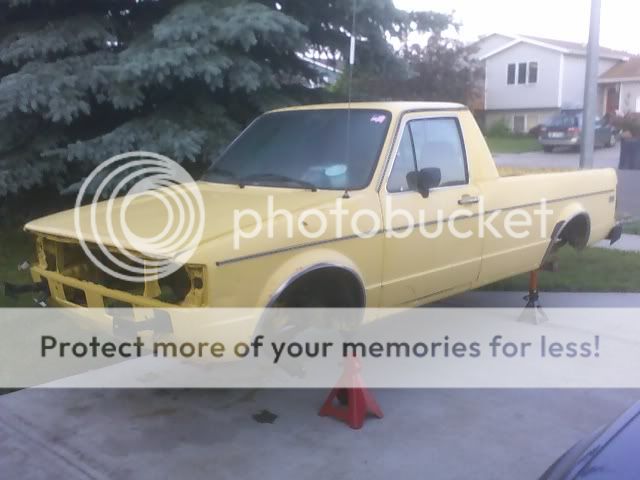
I finally completed the teardown in June and this is what it looks like now.
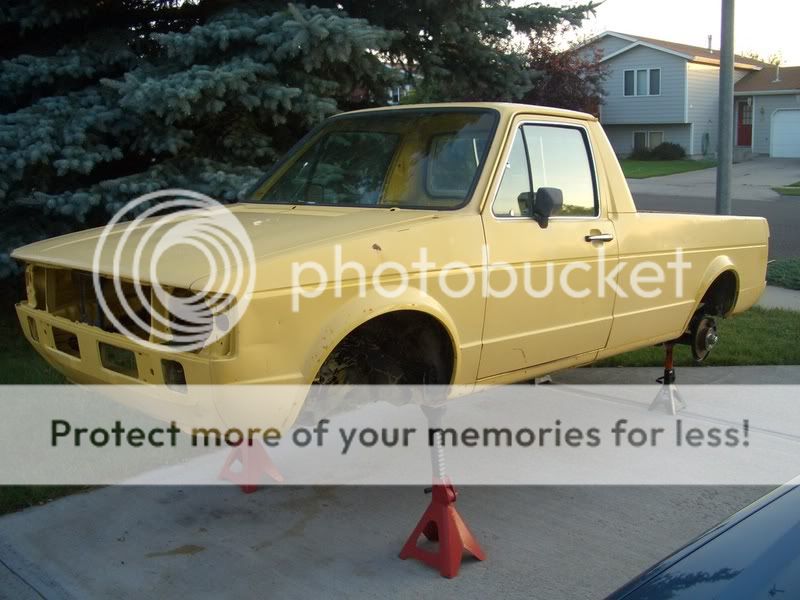
Nothing left but doors and glass.
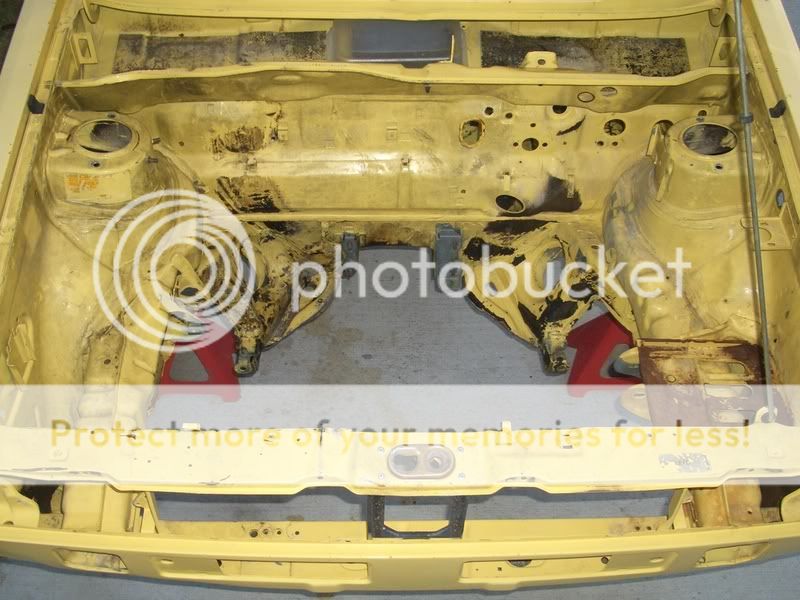
Diesel grime is fun stuff to clean!
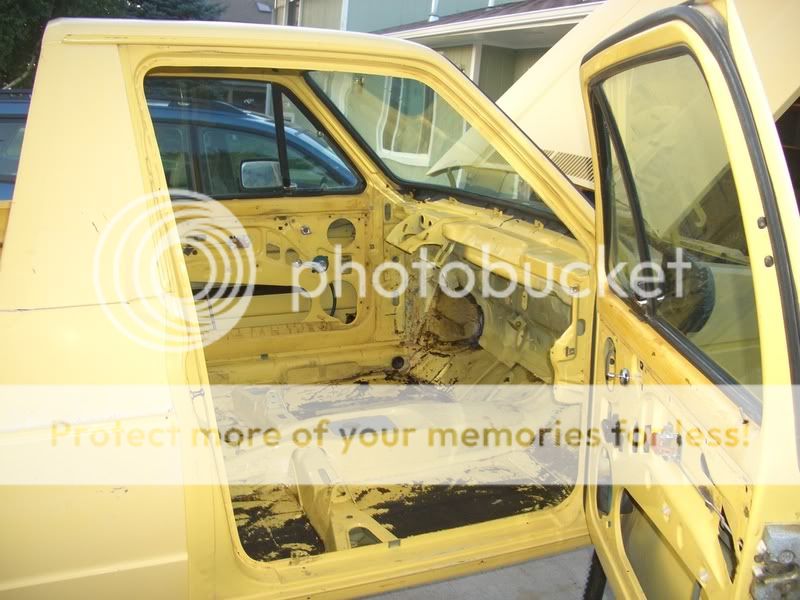
Almost as much fun as carpet glue!
The floors are luckily very good in this Rabbit.
Only minnor surface rust in a few spots.
This is a good start... I will update again soon.
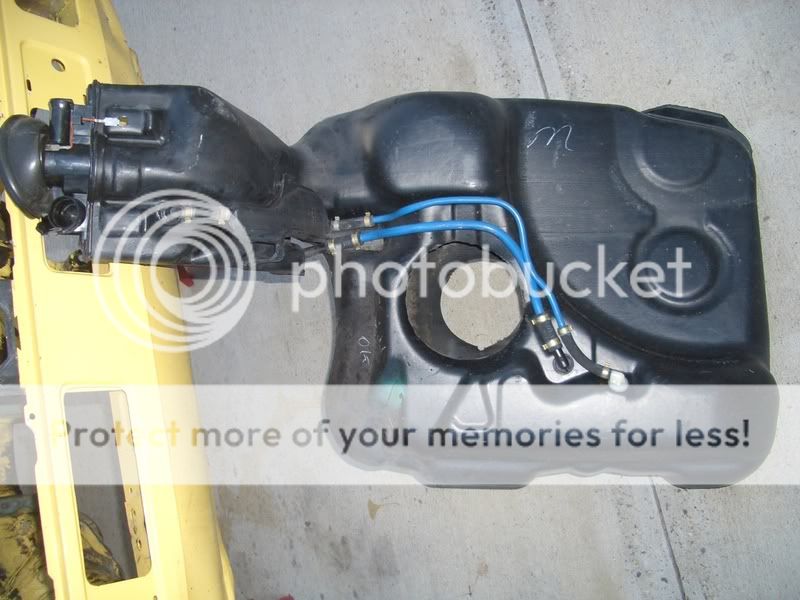
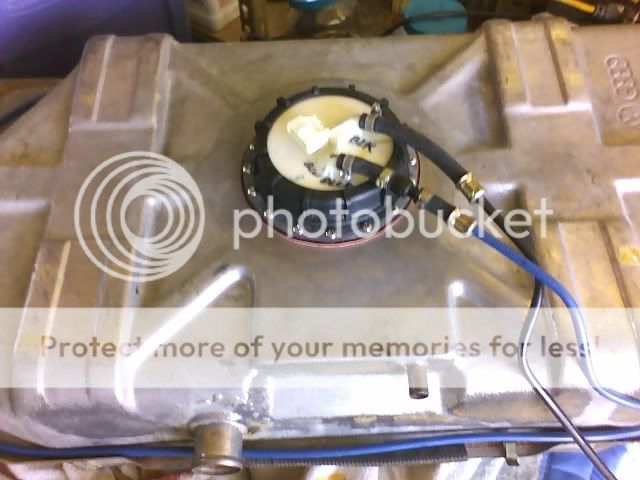
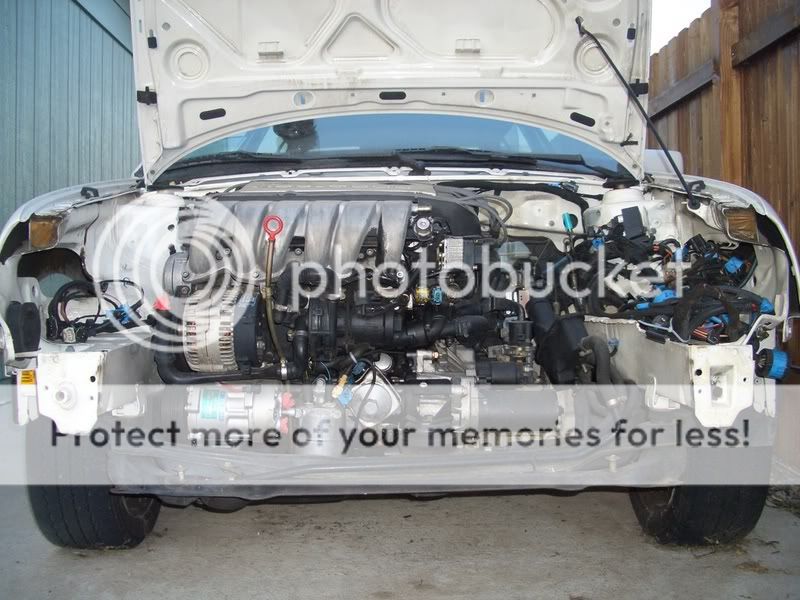
Alright... I have been prepping the Jetta for VR & subframe removal.
I should have started this build thread months ago, but I just figured-out how to post pictures to this site.
Dropping a VR6 into the Caddy should be easy
History: I found an 81 VW pick-up diesel at Brax in Divide.
Body was in good shape and he dropped it off at the house late last summer. Then I found a cheap donor vehicle, 95 Jetta GLX in LA.
Got a cheap one way ticket and drove it back to Bozeman in 21 hours.
Changed plugs, wires, basic tune-up and this VR6 screams... shifts and handles very well.
Project: I want to build a VW pick-up daily driver with LSD necessary power, great handling and a stock clean "83" exterior look.
Must be a comfortable blast to drive.
I will be using the complete MK3 VR6 Subframe system.
I will Modify the Caddy body to accept the Subframe system and have everything bolt-up to the body just like on the MK3.
I will be using as many parts as possible from the MK3 to complete this build.
I started to tear down the pick-up and it then sat like this all winter.
These vehicles are outside and I like to ski too much.
I finally completed the teardown in June and this is what it looks like now.
Nothing left but doors and glass.
Diesel grime is fun stuff to clean!
Almost as much fun as carpet glue!
The floors are luckily very good in this Rabbit.
Only minnor surface rust in a few spots.
This is a good start... I will update again soon.
Alright... I have been prepping the Jetta for VR & subframe removal.