German AWD

Moderators: Mikewire, Rennwagen1

kevin286
In the trunk...
In the trunk...
Posts: 336
Joined: Jul Sat 05, 2008 10:23 am
Vehicles: 02 M3, 06 Taco DCSB, 90 240 Wagon
Location: Moab, UT
Contact:

Re: German AWD

Post by kevin286 »

Took a break from engine for a bit and worked on audio.
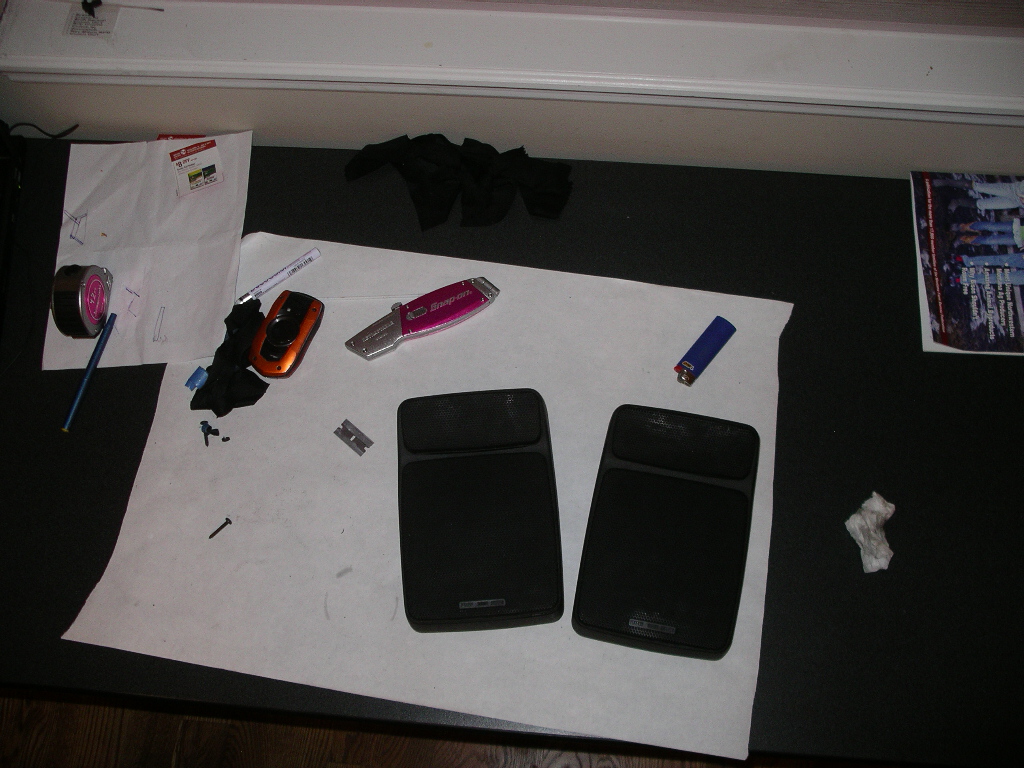
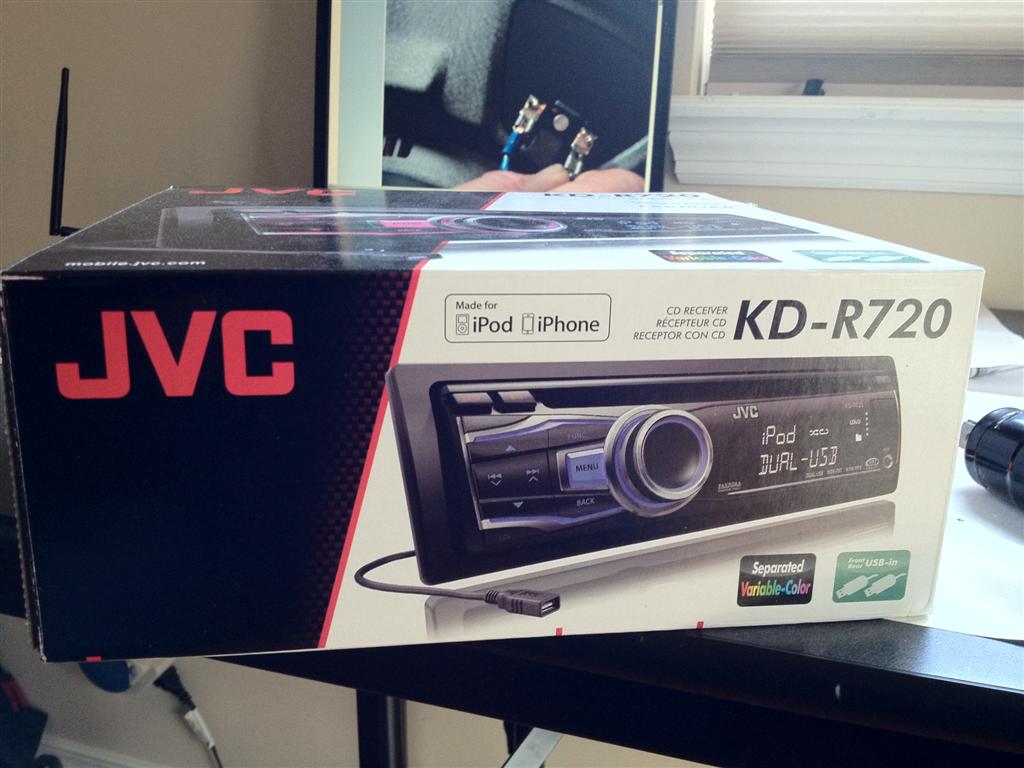
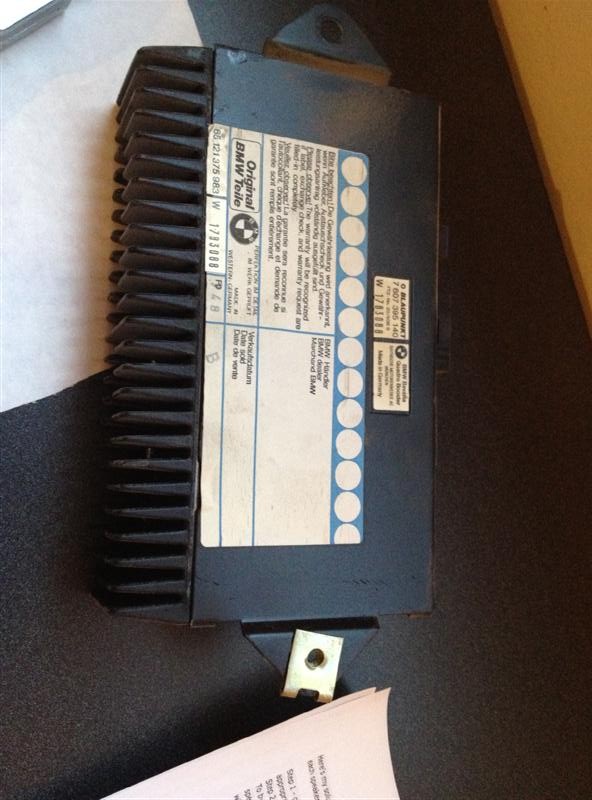
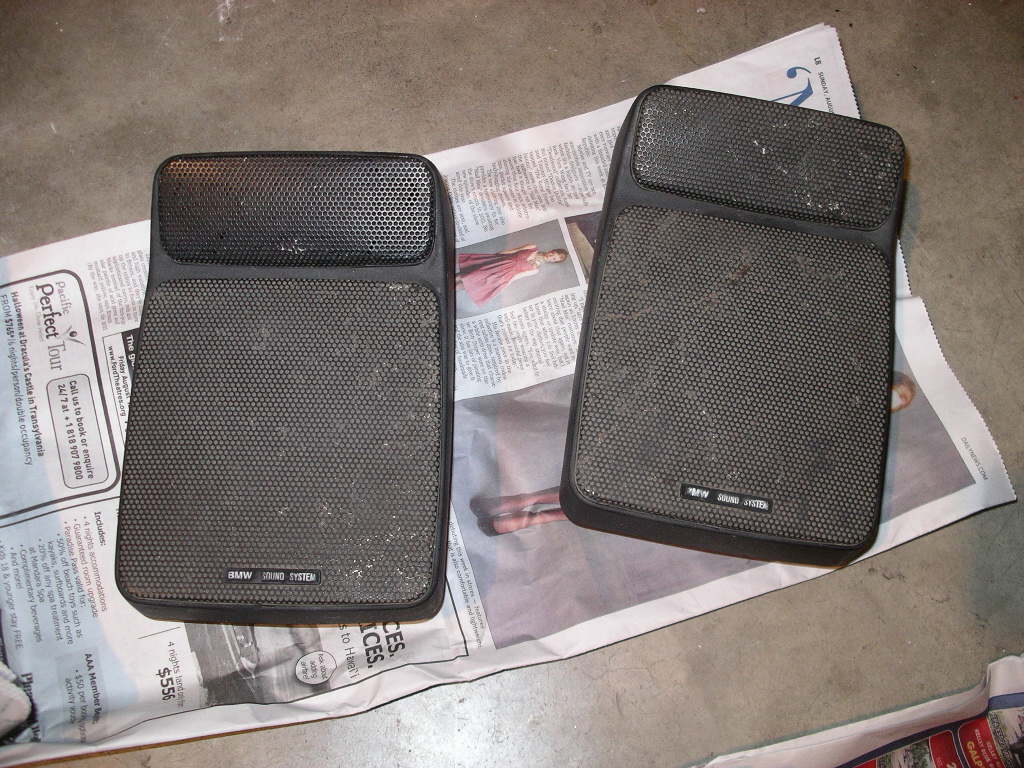
PO took the speakers and stereo from the car. Must have liked the BMW Premium sound package :screwy: Having never heard it, I can't say if I'm being for real or sarcastic. :)
Got some speakers off the forums but they're dirty and such so a little freshing up was in order.

Before picture
Image
Had to soak over night to get the cloth off. It's stuck on good.
Image
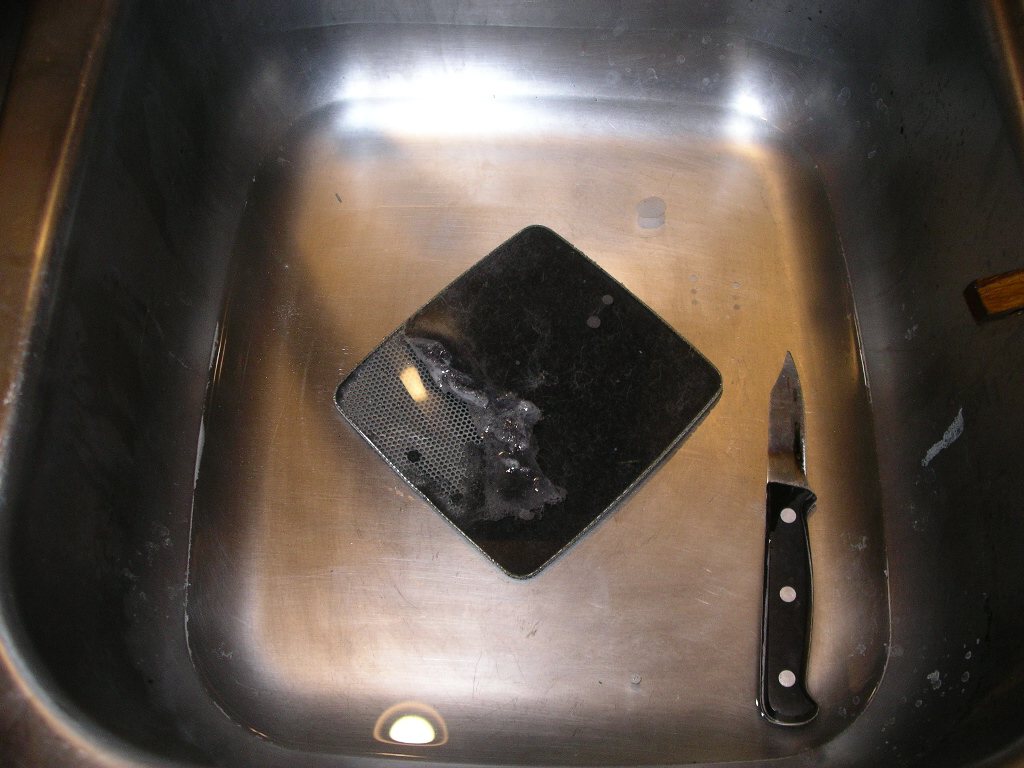
Scrubbed with small wire brush
Image
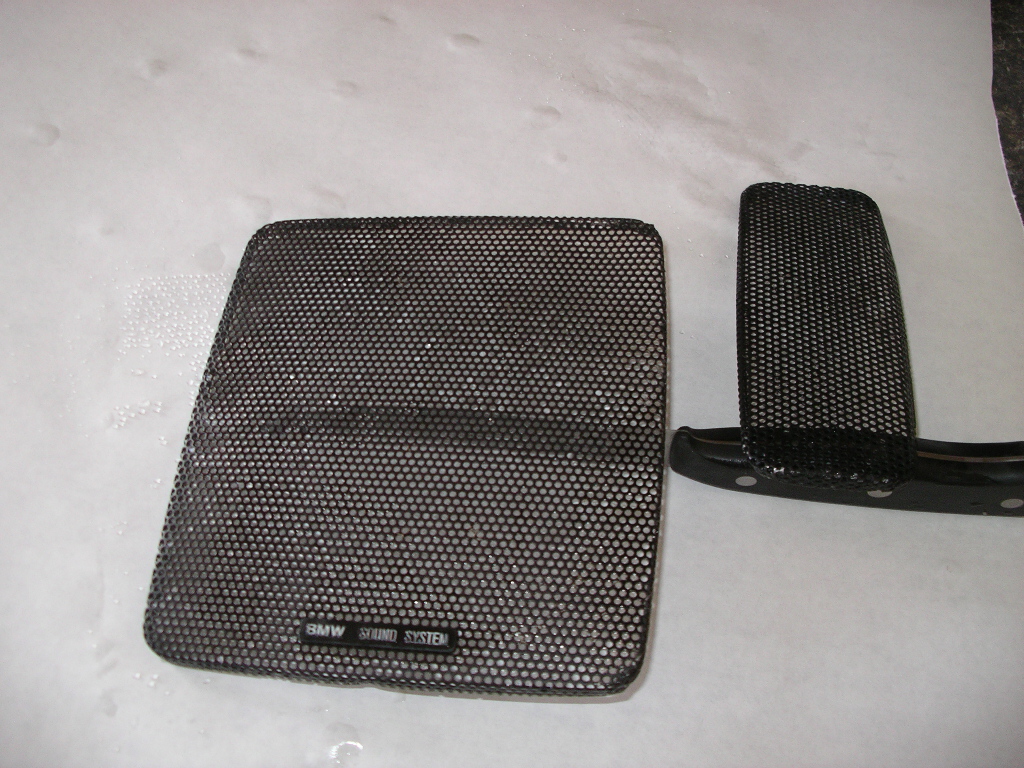
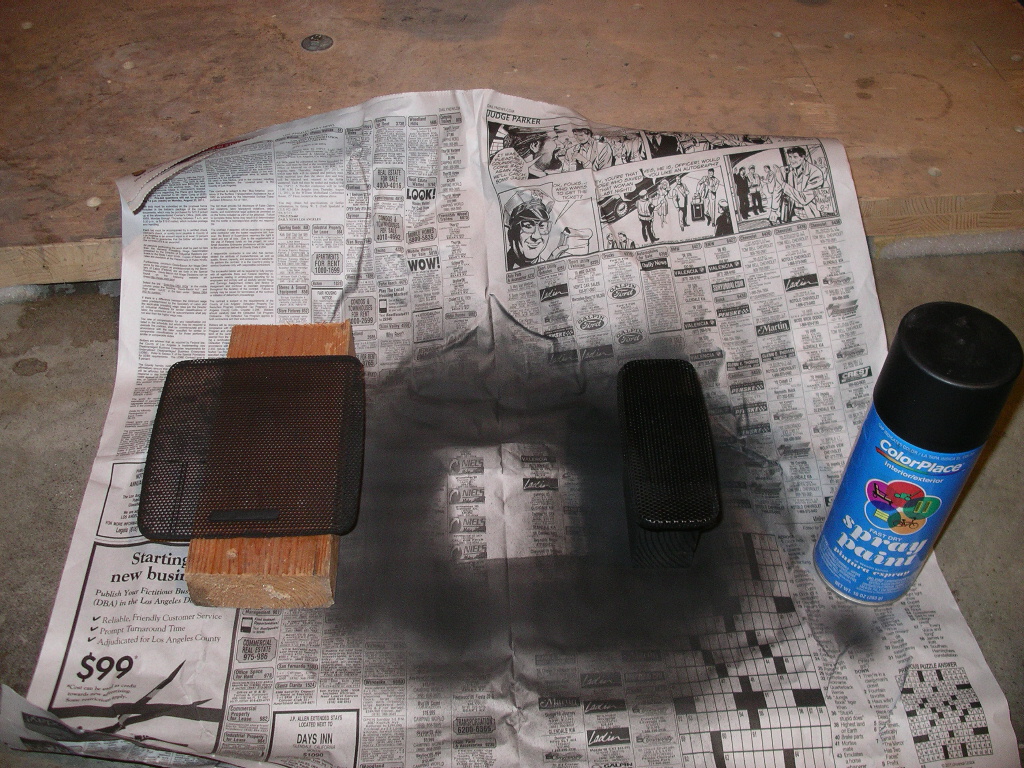
Painted with high quality flat black. Ha. figured these wouldn't see high impact, so just the cheap stuff
Image
Got some new speaker cloth from JoAnn. It's the type that you'd use on the grill of your home theater, not like the real thin stuff I took off but I think it's going to work.
Image
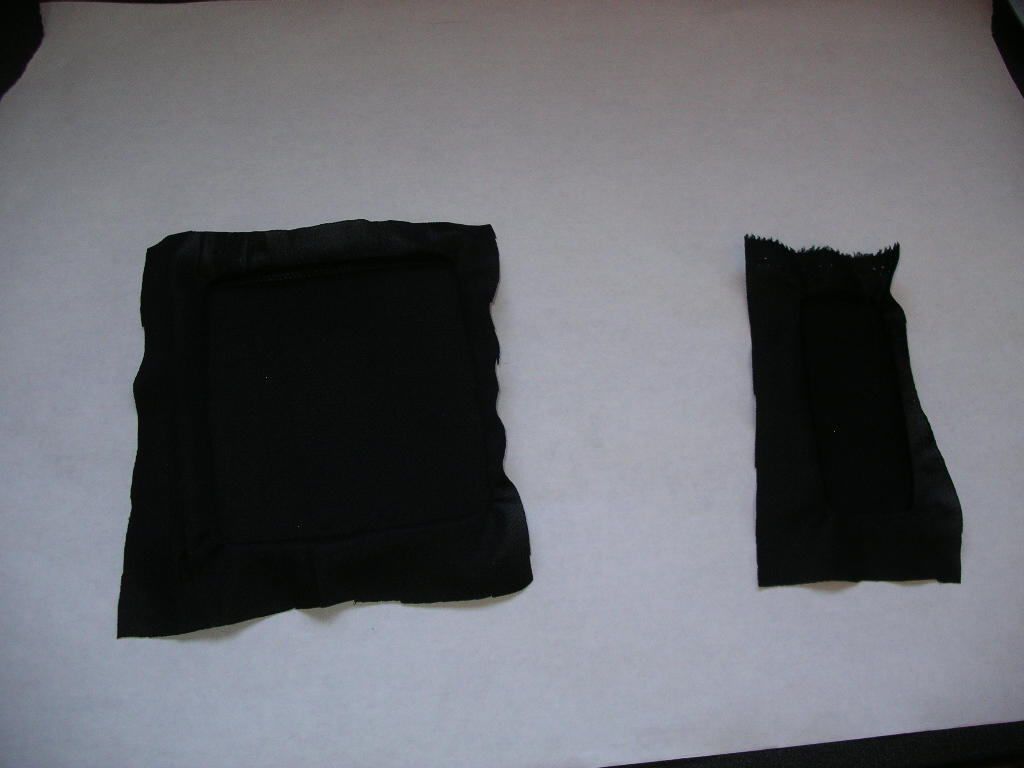
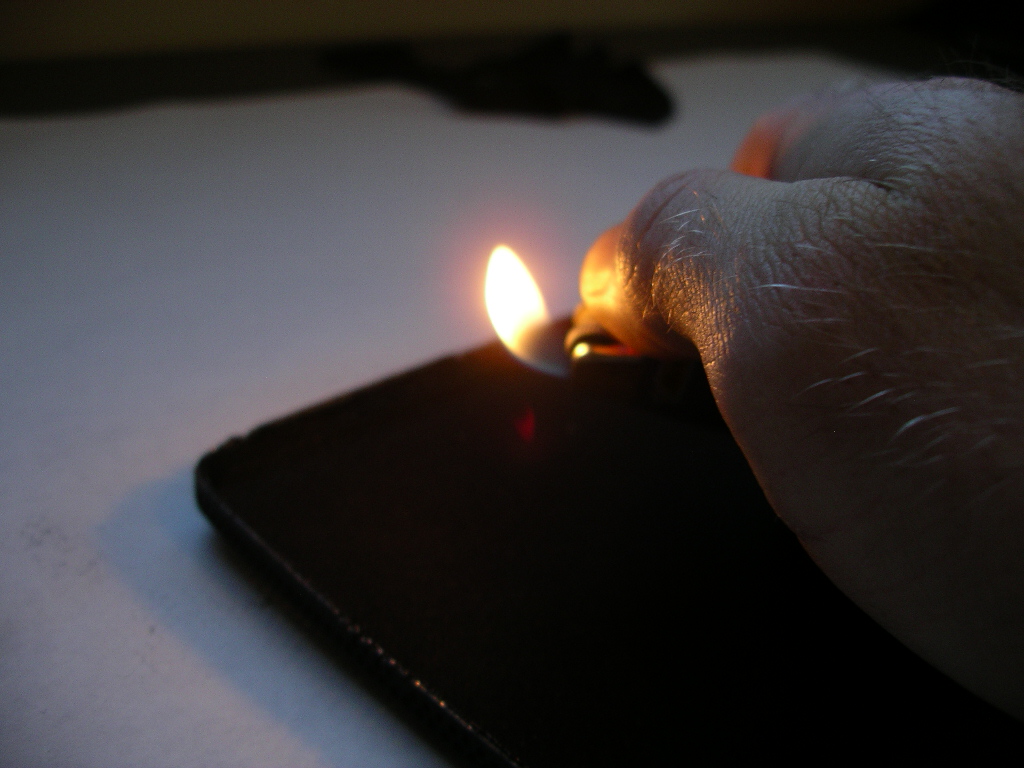
I melted the edges after trimming to give it a clean look. (meh, it's covered anyways)
Image

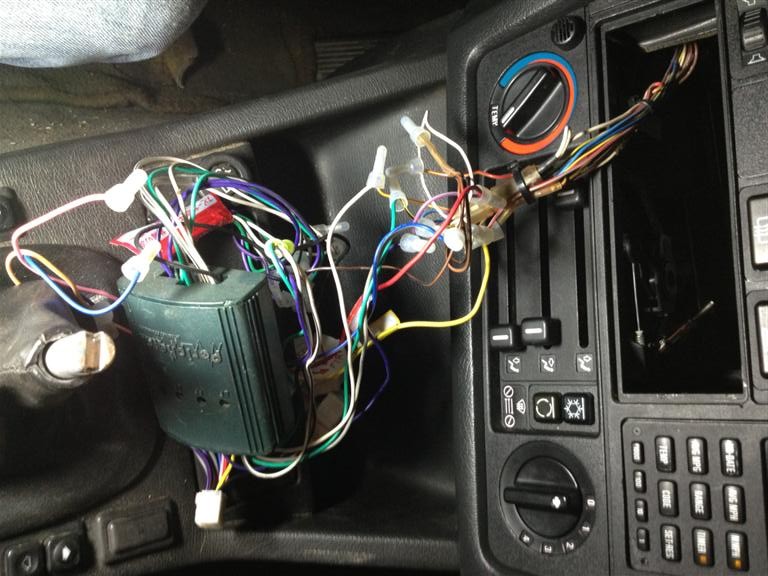
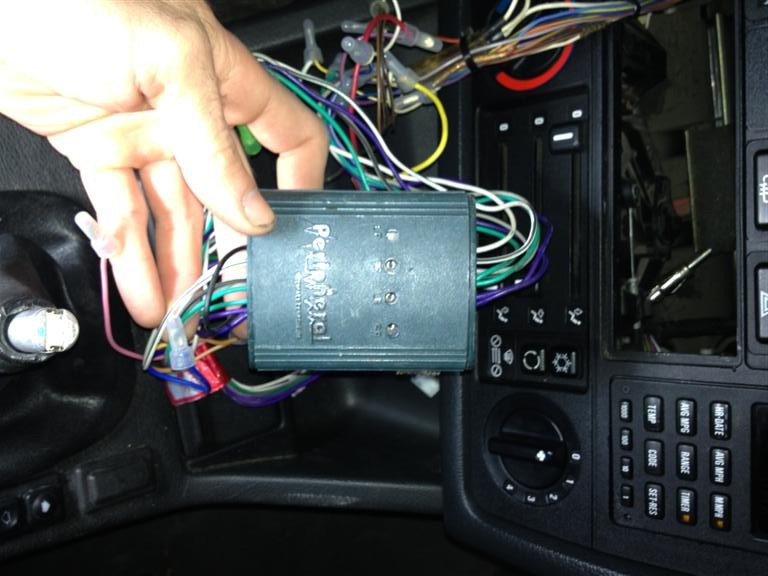
Also fiddled around with my high idle. I'd taken the airbox out again to track down and fix a small coolant leak yesterday, so put that back in.
Image
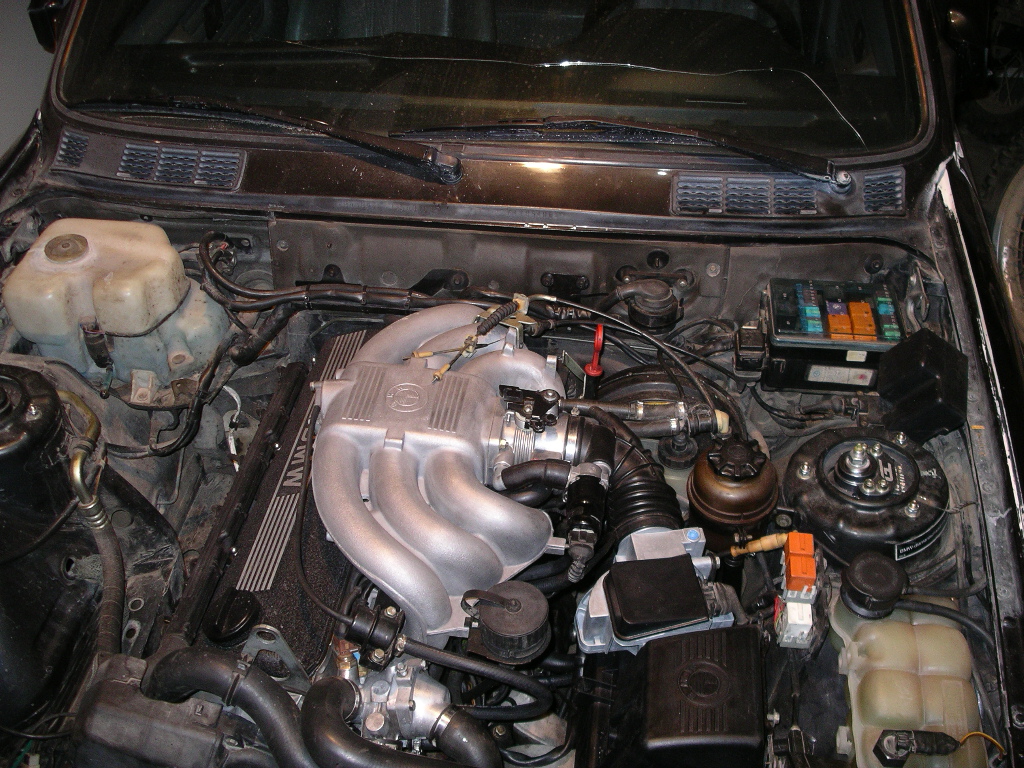
Then after making absolutely (ha, never say that) sure I didn't have a vacuum leak like ghetto mentioned, I played around adjusting my ICV. BMW says this is a non adjustable part but whatever, you just un-crimp it and turn it like you would adjusting the beam on a maglight. This got my idle down under control though it does.. lope?/fluctuate a little. Maybe that's normal or a symptom of my dry A/C system?


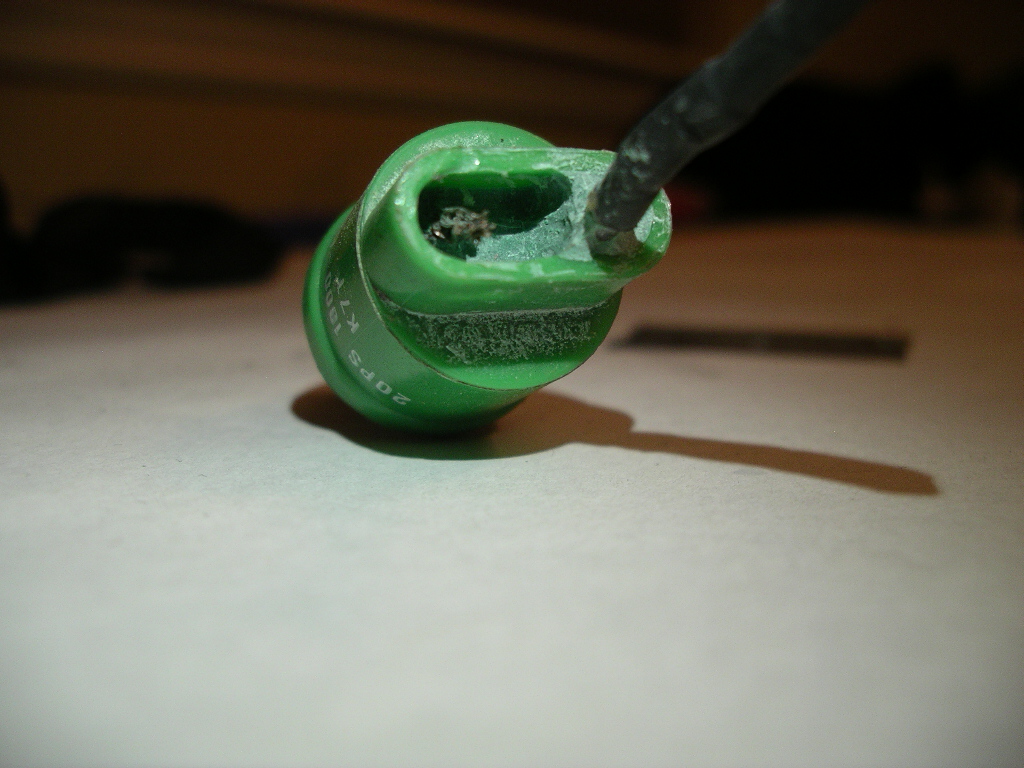
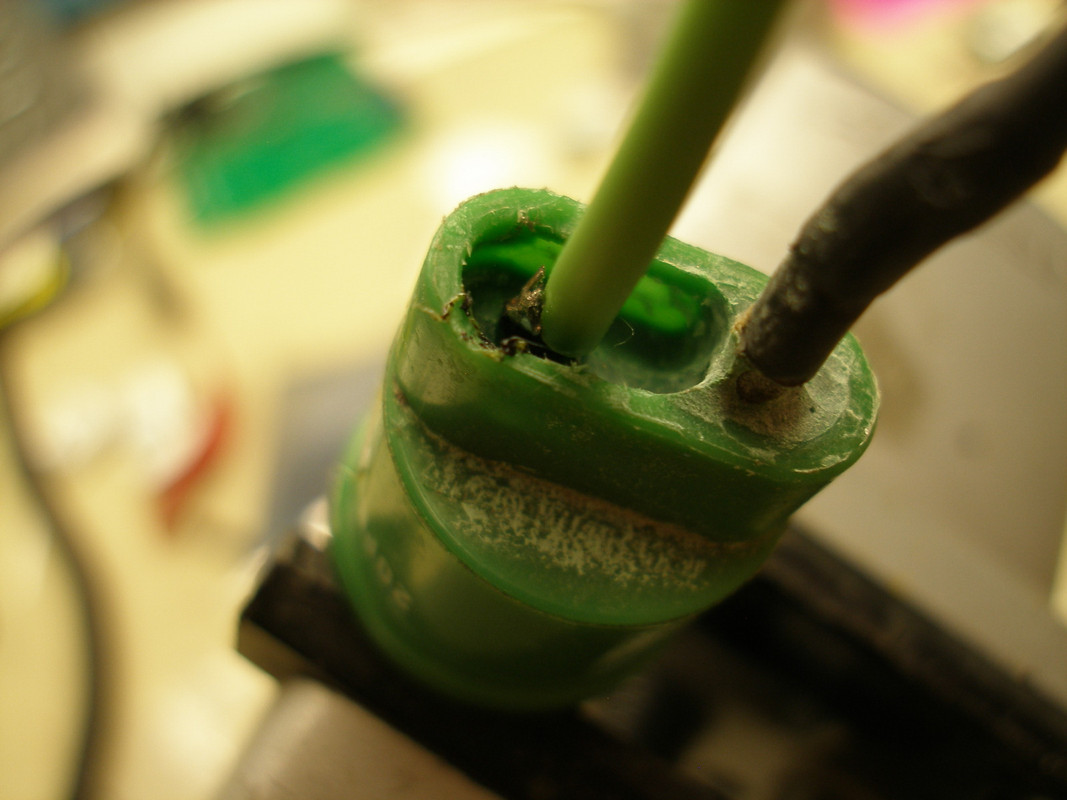
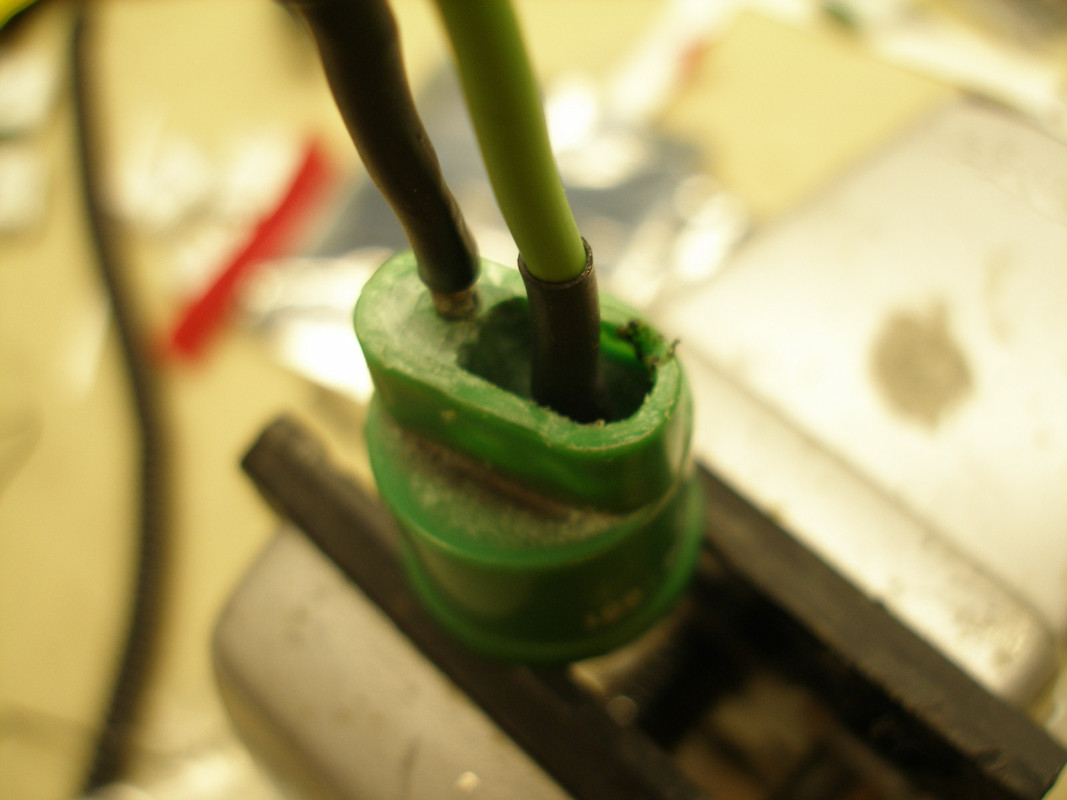
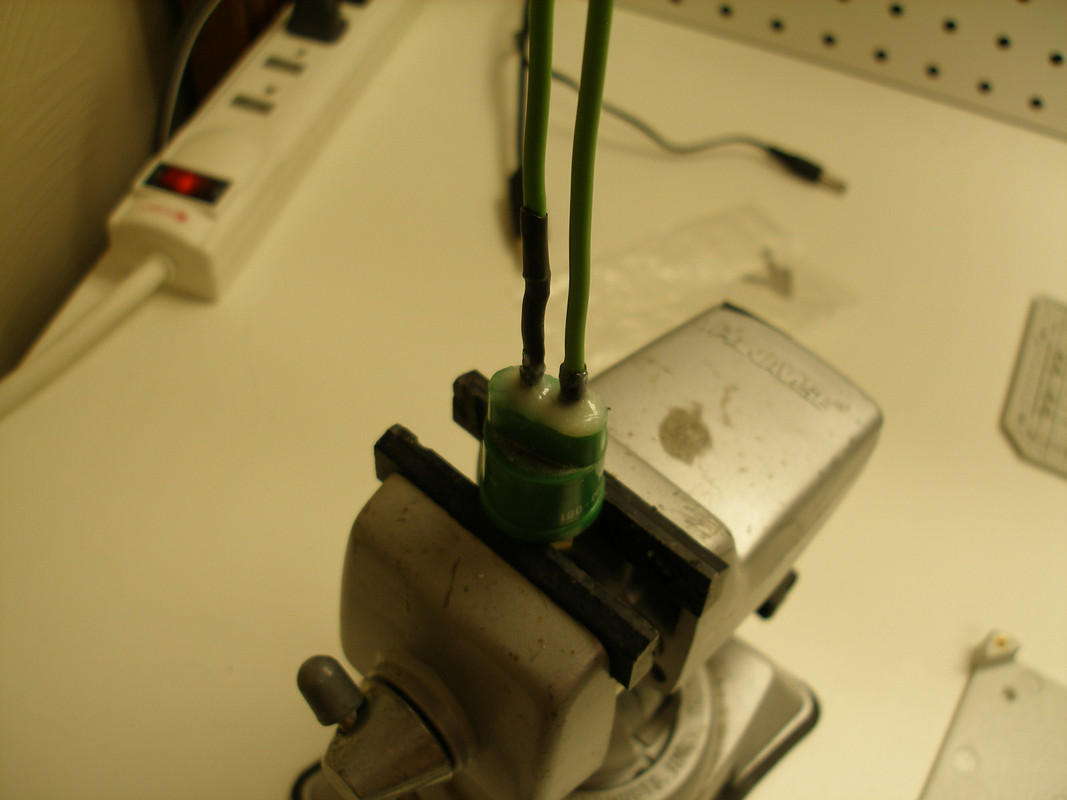
Lastly, I had a sensor or presure switch of some type on the A/C system that had a wire broke off right where the wire meets the potting. So I carved it out with my dremel. I'll solder on new leads tomorrow at work.
Image

:beer:
Last edited by kevin286 on Jul Mon 01, 2019 1:50 pm, edited 2 times in total.
User avatar
YASHA7FOLD
Euro Addict!!!
Euro Addict!!!
Posts: 2092
Joined: Jun Wed 30, 2010 4:42 pm
Vehicles: 58 Buggy,65 Baja,69 Beetle, 72 Westy
Location: Laurel
Contact:

Re: German AWD

Post by YASHA7FOLD »

Coming along nicely. :thumbsup:
.R13 5 (o\!/o)
..╚╬╬╝
... 24
User avatar
Rennwagen1
The Dubfather
The Dubfather
Posts: 4166
Joined: Nov Mon 06, 2006 5:21 pm
Vehicles: 84 GTI, 97 GLX, 04 Touareg V6
Location: ZooTown Represent!

Re: German AWD

Post by Rennwagen1 »

Does Teen Wolf do you speaker grille repairs?!
Jd3 wrote:Once again I was slangin rocks and pimpin bitches. Got a degree from the streets. Listen to the song regulate by warren g. I wrote it.
MikeWire wrote:Vanilla Ice > Depeche Mode.
Captain Pajama Shark
99% Awesome 100% of the time!!
1.8/2.8/3.2 OEM+
You can pay for school, but you can't buy class!
Image
kevin286
In the trunk...
In the trunk...
Posts: 336
Joined: Jul Sat 05, 2008 10:23 am
Vehicles: 02 M3, 06 Taco DCSB, 90 240 Wagon
Location: Moab, UT
Contact:

Re: German AWD

Post by kevin286 »

Rennwagen1 wrote:Does Teen Wolf do you speaker grille repairs?!
I don't know of Teen Wolf. I'm a wolf only at the bar :unibrow: but no teen.
kevin286
In the trunk...
In the trunk...
Posts: 336
Joined: Jul Sat 05, 2008 10:23 am
Vehicles: 02 M3, 06 Taco DCSB, 90 240 Wagon
Location: Moab, UT
Contact:

Re: German AWD

Post by kevin286 »

Fixed up the sensor.
Image
Image
Image
Last edited by kevin286 on Jul Mon 01, 2019 1:51 pm, edited 1 time in total.
kevin286
In the trunk...
In the trunk...
Posts: 336
Joined: Jul Sat 05, 2008 10:23 am
Vehicles: 02 M3, 06 Taco DCSB, 90 240 Wagon
Location: Moab, UT
Contact:

Re: German AWD

Post by kevin286 »

This is out of order. I had a loose headlight. Since these puppies are glass lens, replaceable bulb, projector type (how cool is that in 1988?) replacement new OEM is like 255 dollars, with used going for upwards 100 online.
Turns out one of the housings had a broken adjuster tab so I thought I'd try welding in some new plastic.
Don's repair hooked me up with a broken headlight from an Impreza. All I did was cut off pieces from the Impreza housing and use my solder pencil to weld them in place on my housing. Very similar to what you'd do with a tig torch but much slower as your actually heating your puddle with the tip of the solder pencil.
So far it seems pretty strong.
Image
Image
Last edited by kevin286 on Jul Mon 01, 2019 1:52 pm, edited 1 time in total.
kevin286
In the trunk...
In the trunk...
Posts: 336
Joined: Jul Sat 05, 2008 10:23 am
Vehicles: 02 M3, 06 Taco DCSB, 90 240 Wagon
Location: Moab, UT
Contact:

Re: German AWD

Post by kevin286 »

Finished these up tonight. Turned out okay, not great in my mind. Anyone know how to paint the raised letters on the speaker grills? They are really fine, I thought I might try smearing whiteout on a large pink eraser or something and putting it on like a stamp. :screwy:
Image
Put in the car. Takes care of the holes back there. Now I just need to deal with the hole in the dash. :)
Image

Took it for a drive around the block tonight. 1st & 2nd only. Seemed okay. Red check engine light came on, which according to the manual is emissions system. So.. I'm not sure what's that about.. (Come to think of it, I should check and make sure I hooked the o2 back up) :banghead: edit: it's hooked up. Could be the computer has not adjusted to the larger injectors and is running rich.
Last edited by kevin286 on Jul Mon 01, 2019 1:53 pm, edited 1 time in total.
kevin286
In the trunk...
In the trunk...
Posts: 336
Joined: Jul Sat 05, 2008 10:23 am
Vehicles: 02 M3, 06 Taco DCSB, 90 240 Wagon
Location: Moab, UT
Contact:

Re: German AWD

Post by kevin286 »

I'm pretty sure my idle wonkyness is my ICV valve so while I'm waiting for a different one to show up I thought I'd tackle the radio that's missing.
Here's the goal. Seems like a cheapy but reviewed really well on r3v so I'm going to give it a go.
Image
Must have been an aftermarket job in there before. Somewhat of a mess.
Image
This thing was stuffed in there. Near as I can tell it's some sort of fader? :question:
Image
Just plugging away taking pieces out to get to things
Image
Steering column needed to move down so I could remove the instrument cluster. Silly tamper resistant bolts.
Image
Are no match for my dremel
Image
With my car/year/model not all the wires run to the HU, so hunting down what wire to what. There's an OEM amp in the truck so needed to remove the back seat and door sill
Image
Left my meter at work so.. I'll leave it here for the night
Image
:beer:
Last edited by kevin286 on Jul Mon 01, 2019 1:56 pm, edited 1 time in total.
kevin286
In the trunk...
In the trunk...
Posts: 336
Joined: Jul Sat 05, 2008 10:23 am
Vehicles: 02 M3, 06 Taco DCSB, 90 240 Wagon
Location: Moab, UT
Contact:

Re: German AWD

Post by kevin286 »

Since I had the cluster out, I wanted to replace the SI board batteries. These control the memory of the check engine and service indicator lights EG if they go dead, you reset the light, then they come back on :( .
Image
9 screws, not that bad
Image
here's the board I'm after
Image
Please, anyone fluent in German? I tried translating and it's something about before installation, but I think there's some shorthand or something. It's pointing to a 3 pin male header with a jumper between 2 pins.
Image
These cute little guys are what I'm after. Some years had rechargeable nickle metal hydrides, these are just regular ol magnanes dioxide :\ meh, hope I can find some at radio shack, else I'll have to get them from digikey.
Image
:beer:
Last edited by kevin286 on Jul Mon 01, 2019 1:59 pm, edited 1 time in total.
kevin286
In the trunk...
In the trunk...
Posts: 336
Joined: Jul Sat 05, 2008 10:23 am
Vehicles: 02 M3, 06 Taco DCSB, 90 240 Wagon
Location: Moab, UT
Contact:

Re: German AWD

Post by kevin286 »

Update:
Capped off the head unit speaker wires & then connected the battery power, ignition power, dash lights fade wire, ground and capped off the fader control wires (mine was the 6 wire version)
Image
Image
Image
Removed the OEM Amp. Put the diode pack back with the little bracket. Also removed my non functioning power antenna.
Image
Image
Image
This is the plug for the amp. What I'm going to splice extension wires into in order to connect to the amp.
Image
Next up I cut 4 pairs of 1 blue and 1 gray wires about 3' long each and labeled them. These are to splice onto the wires that were plugged into the OEM amp and are now going to be connected to the new more better amp.
Image
Image
Image
Then it was time to take a break. So I did. Mmmm
Image
Next up was the trunk tar. I'd really been not wanting to do this after hearing all the bad stories. I used a couple of flat pry bars and it came up in mostly large pieces. :nice: Holy cr** though, (yeah I'd read it) but dang this stuff is heavy. I weighed it with a fish scale, 60 lbs.
Image
Image
With that out, I began routing RCA cables. I started at the front. I know the bible says to start in the rear, but I thought it'd be easier to hide extra wire near the rear of the car, so that's what I did.
I removed the door sill thing and the seats and loosened the top bolt and removed the bottom bolt on the lower seat belt slider thing.
Image
This is along the sill, I went under these wires.
Image
Cut out the oval blanks (two, one for each RCA).
Image
Zip tied in a few places, kept them not too tight per suggestions in other threads.
Image
Then I made a ground connection. I sanded down to bare metal then used a 1/4" SS sheet metal screw to attach my cable with. For the cable I used 4ga with a solder on solid copper battery lug.
Image
Installed the fuse holder.
Image
Then ran them both in the OEM loom toward the front of the car.
Image
Poked the power and ground cables out of the trunk liner about 10" rear of the firewall per directions in the bible. Hung my RCA and my amp extension wires for the speakers over the top of the other side trunk liner.
Image
Next up the ski pass through hole. I just whacked it with a hammer and it came right out. Then I cut a little bit out of the bottom of it like Luke suggests with a tin snip and filed off the edges so I wouldn't cut myself later.
Image
Lastly I tiddy'd up the wires in the dash. A keen eye will note 3 pairs of RCA. I had the RCA cables so I ran an extra pair in case I upgrade my deck in the future to one that has a dedicated sub output. For this install though, I will only be using 2 pair.
Image
Last edited by kevin286 on Jul Mon 01, 2019 2:08 pm, edited 1 time in total.
Post Reply